Data Import/Export
Bulk import data from CSV/Excel files and export data from any table.
Data Import/Export allows you to add, update, or remove many records at once using CSV or Excel files, and export data from any table for backup or analysis.
Efficient Data Management
Import and export features save significant time when managing large datasets, especially during initial setup or when migrating from another system.
- Why this matters: Saves time when adding many students, staff, or courses; ensures consistent data entry; enables easy backup and reporting.
- Who uses it: Administrators who need to manage large datasets efficiently.
- When to use it: Initial setup, mass updates, periodic exports, or when migrating from another system.
How to Use
Import Data from CSV/Excel
Tip: Download our template and populate it with your information, makes you life easier.
The import process has four steps:
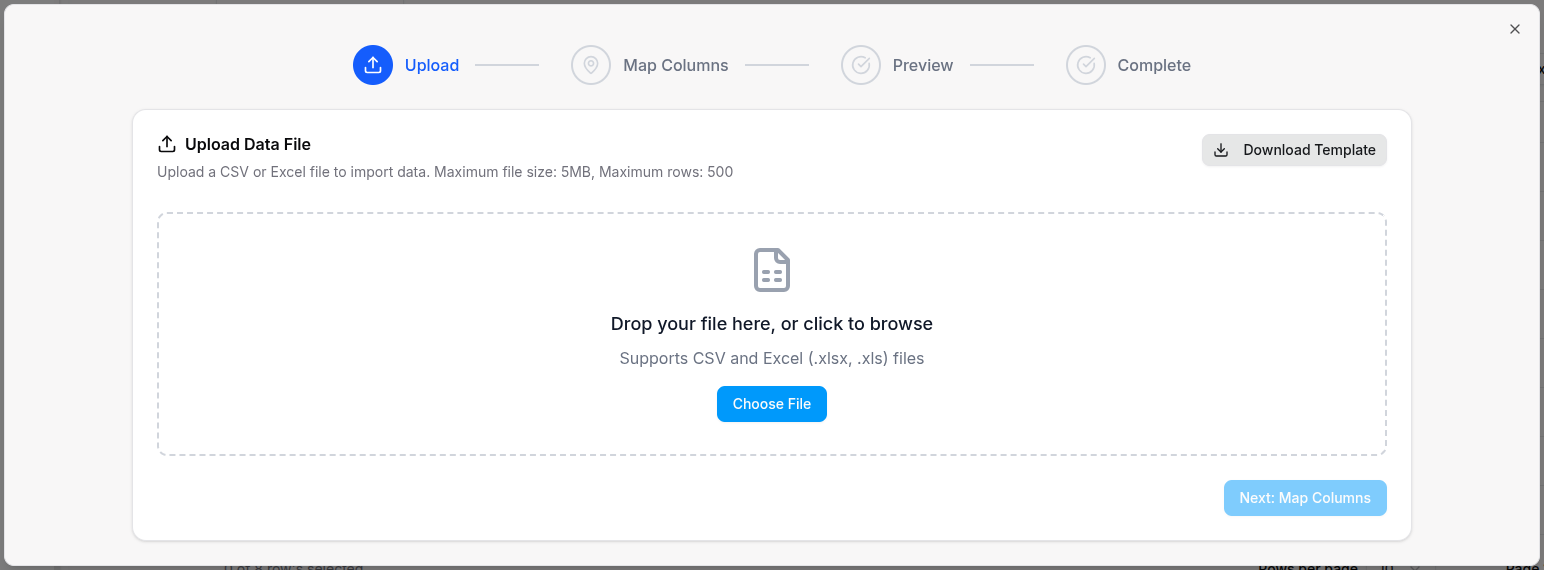
Step 1: Upload File
- Navigate to any table page (e.g., Students, Staff, Courses).
- Click the Import button in the top toolbar.
- Click Download Template to get a sample file with the correct format (optional).
- Prepare your CSV or Excel file with the required columns.
- Click Choose File and select your file.
- Maximum file size: 10 MB, maximum rows: 1000.
Template Download
Always download and use the provided template to ensure your data imports correctly with the right column names and format.
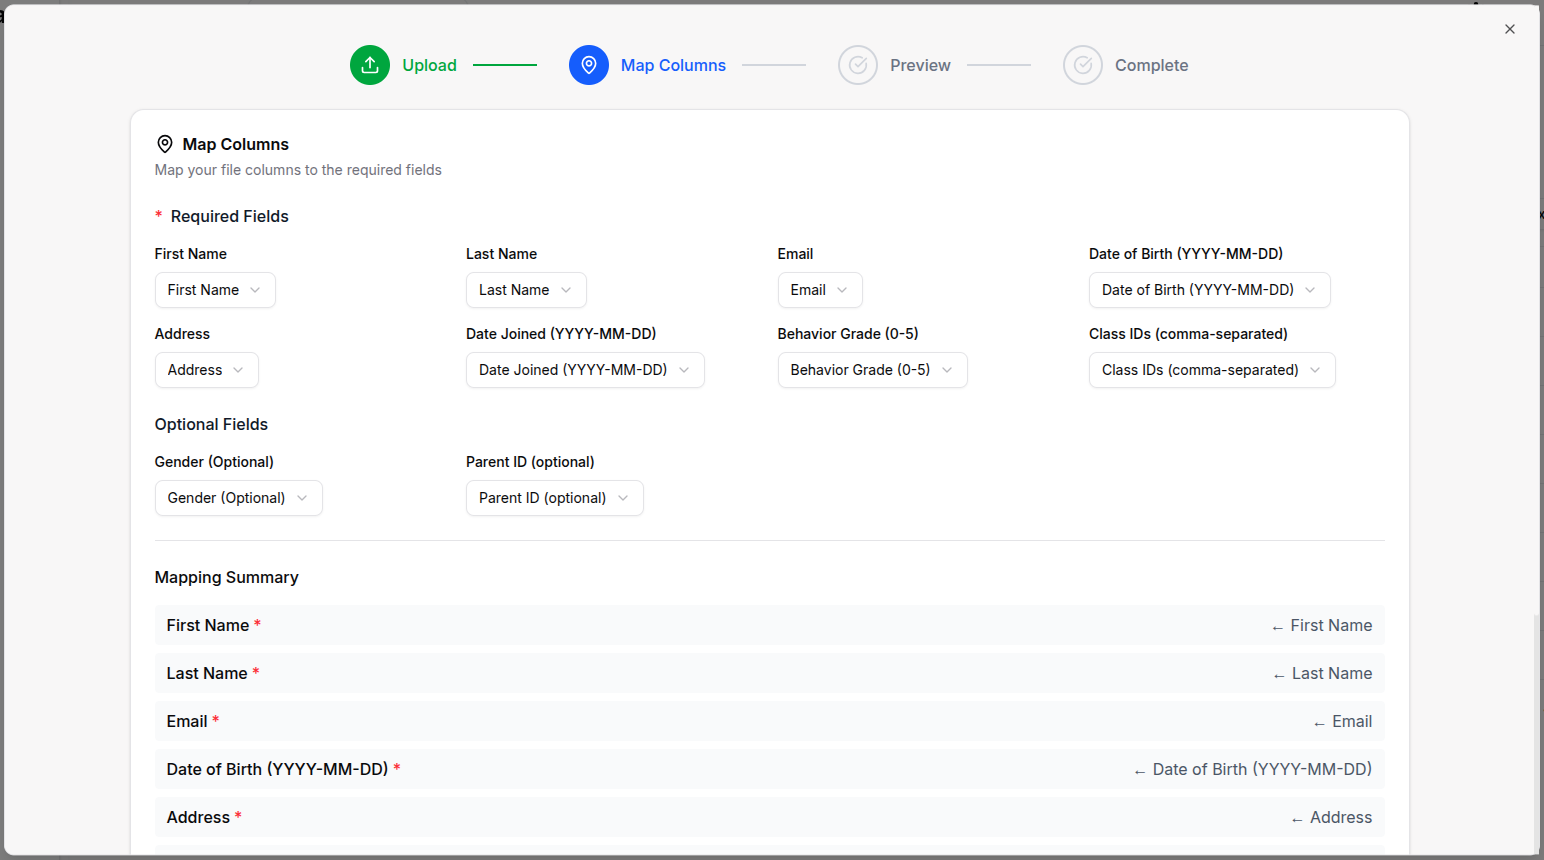
Step 2: Map Columns
- Review the column mapping screen.
- Match your file columns to the system fields.
- Required fields (marked with *) must be mapped.
- Optional fields can be left unmapped.
- Click Preview Data to continue.

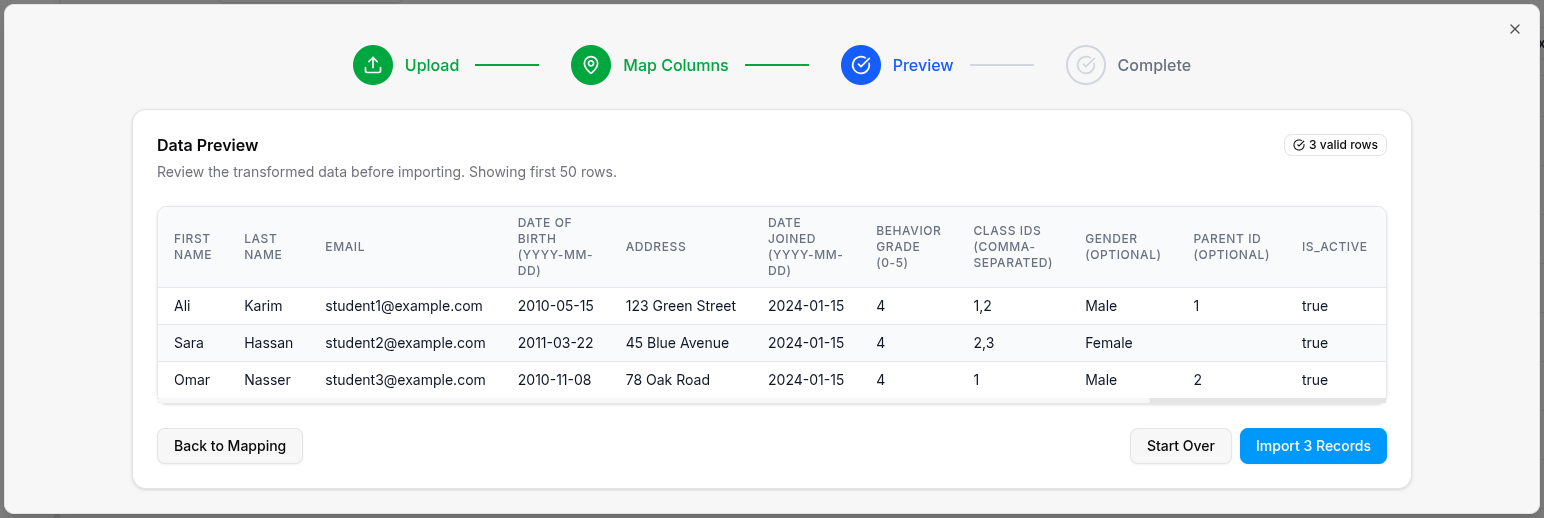
Step 3: Preview & Validate
- Review the preview table showing your data.
- Check validation errors if any rows failed.
- Valid rows are shown with a green badge.
- Invalid rows are shown with a red badge and error details.
- Fix errors by downloading the error file and re-uploading.
- Click Import to proceed.
Always Preview First
Always review the preview step before confirming the import. This prevents errors and ensures your data is imported correctly.
Step 4: Complete
- Watch the progress bar as data is imported.
- Review the success summary showing records imported.
- Click Import Another to continue, or close the modal.

Import Wizard
The import wizard guides you through each step with clear instructions and previews. You can go back to any previous step to make corrections.
Available Import Types
You can import the following data types:
- Students: Name, email, phone, birth date, gender, address, etc.
- Staff (Teachers): Personal info, subjects, qualifications, etc.
- Parents: Contact info, linked students, etc.
- Admins: Basic admin information.
- Courses: Course name, code, description, credits, etc.
- Subjects: Subject name, code, department, etc.
- Classes: Class name, section, academic year, etc.
- Classrooms: Room number, capacity, building, etc.
- Payments: Student, amount, date, payment method, etc.
- Expenses: Category, amount, date, description, etc.
- Bank Accounts: Account name, number, bank name, etc.
- Secretaries: Personal info and access permissions.
- Coordinators: Personal info and CRM access.
NOTE: If needed to bulk create something else, contact application developers.
Export Data
Export data from any table:
- Navigate to any table page.
- Apply filters if you want to export specific records.
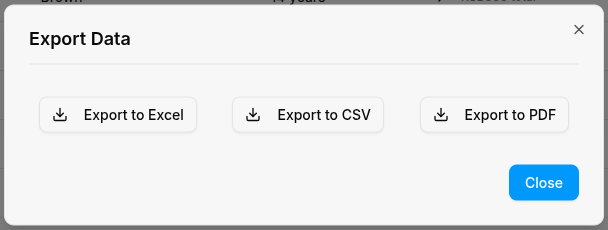
- Click the Export button in the top toolbar.
- Choose export format:
- CSV: For Excel or spreadsheet applications
- Excel: Microsoft Excel format (.xlsx)
- The file downloads automatically with current filters applied.
Filtered Exports
The export includes only the records currently visible in the table after applying filters. Use filters to export specific date ranges, statuses, or categories.
Bulk Actions (Without Files)
You can also perform bulk actions directly on the table:
- Navigate to any table page.
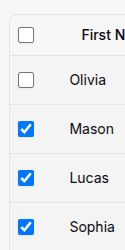
- Select multiple rows using the checkboxes.
- Click the bulk action button (e.g., Bulk Delete in the top right side outside the table).
- Confirm the action.
- The selected records are processed.
Available bulk actions:
- Bulk Delete: Remove selected records
- Bulk Update: Update status or category (if available)
- Merge Classes: Combine multiple classes (classes table only)
For Organization Types
- Import students with GitHub usernames for coding challenges.
- Export attendance reports for coding sessions.
- Bulk import assignment grades from CSV.
- Export student portfolios and GitHub activity.
- Import athletes with medical clearance dates.
- Export training session attendance.
- Bulk import coaching certifications.
- Export payment records for registration fees.
- Import students with Quran memorization progress.
- Export attendance for religious and academic subjects.
- Bulk import teaching qualifications.
- Export fee payment records.
Tips
- Start Small: Test with a small file (10-20 rows) before importing large datasets.
- Download Templates: Use the template button to ensure correct column names and format.
- Check Required Fields: Make sure all required fields are filled in your import file.
- Use Unique Identifiers: For updates, include a unique ID or email to identify existing records.
- Validate First: Always review the preview step before confirming the import.
- Fix Errors: Download error files to correct validation issues and re-upload.
- Filter Before Export: Apply filters to export only the data you need.
- Backup Before Delete: Export data before performing bulk delete operations.
- Keep Formats Consistent: Use the same date format (YYYY-MM-DD) across all imports.
- Check File Size: Keep files under 10 MB and 1000 rows for best performance.